Why AWS Lightsail for Valkyr Services?
This is a great, easy and approachable way to get started for very little upfront cost.
Will it limit my options going forwards?
Not at all. The executable web application spring boot jar files will execute flawlessly on any modern Java-powered system.
The robust Typescript code will run anywhere including Apache and nginx Http servers.
What are the setup steps to get this going?
- Create an AWS Lightsail instance: Choose a Java-compatible instance type (e.g., Ubuntu) and configure the instance settings.
- Set up a database: Create a MySQL or PostgreSQL database instance in Lightsail.
- Configure networking: Configure networking rules to allow access to your ValkyrAI services.
- Deploy ValkyrAI: Deploy the ValkyrAI backend and frontend to your Lightsail instance.
- Configure DNS: Set up your DNS namespace to point to your Lightsail instance.
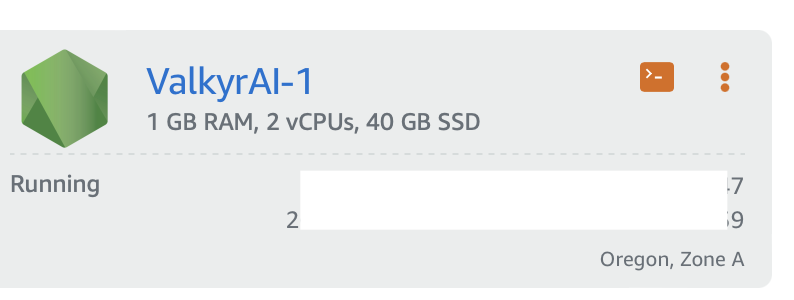 AWS Lightsail Instance Configuration
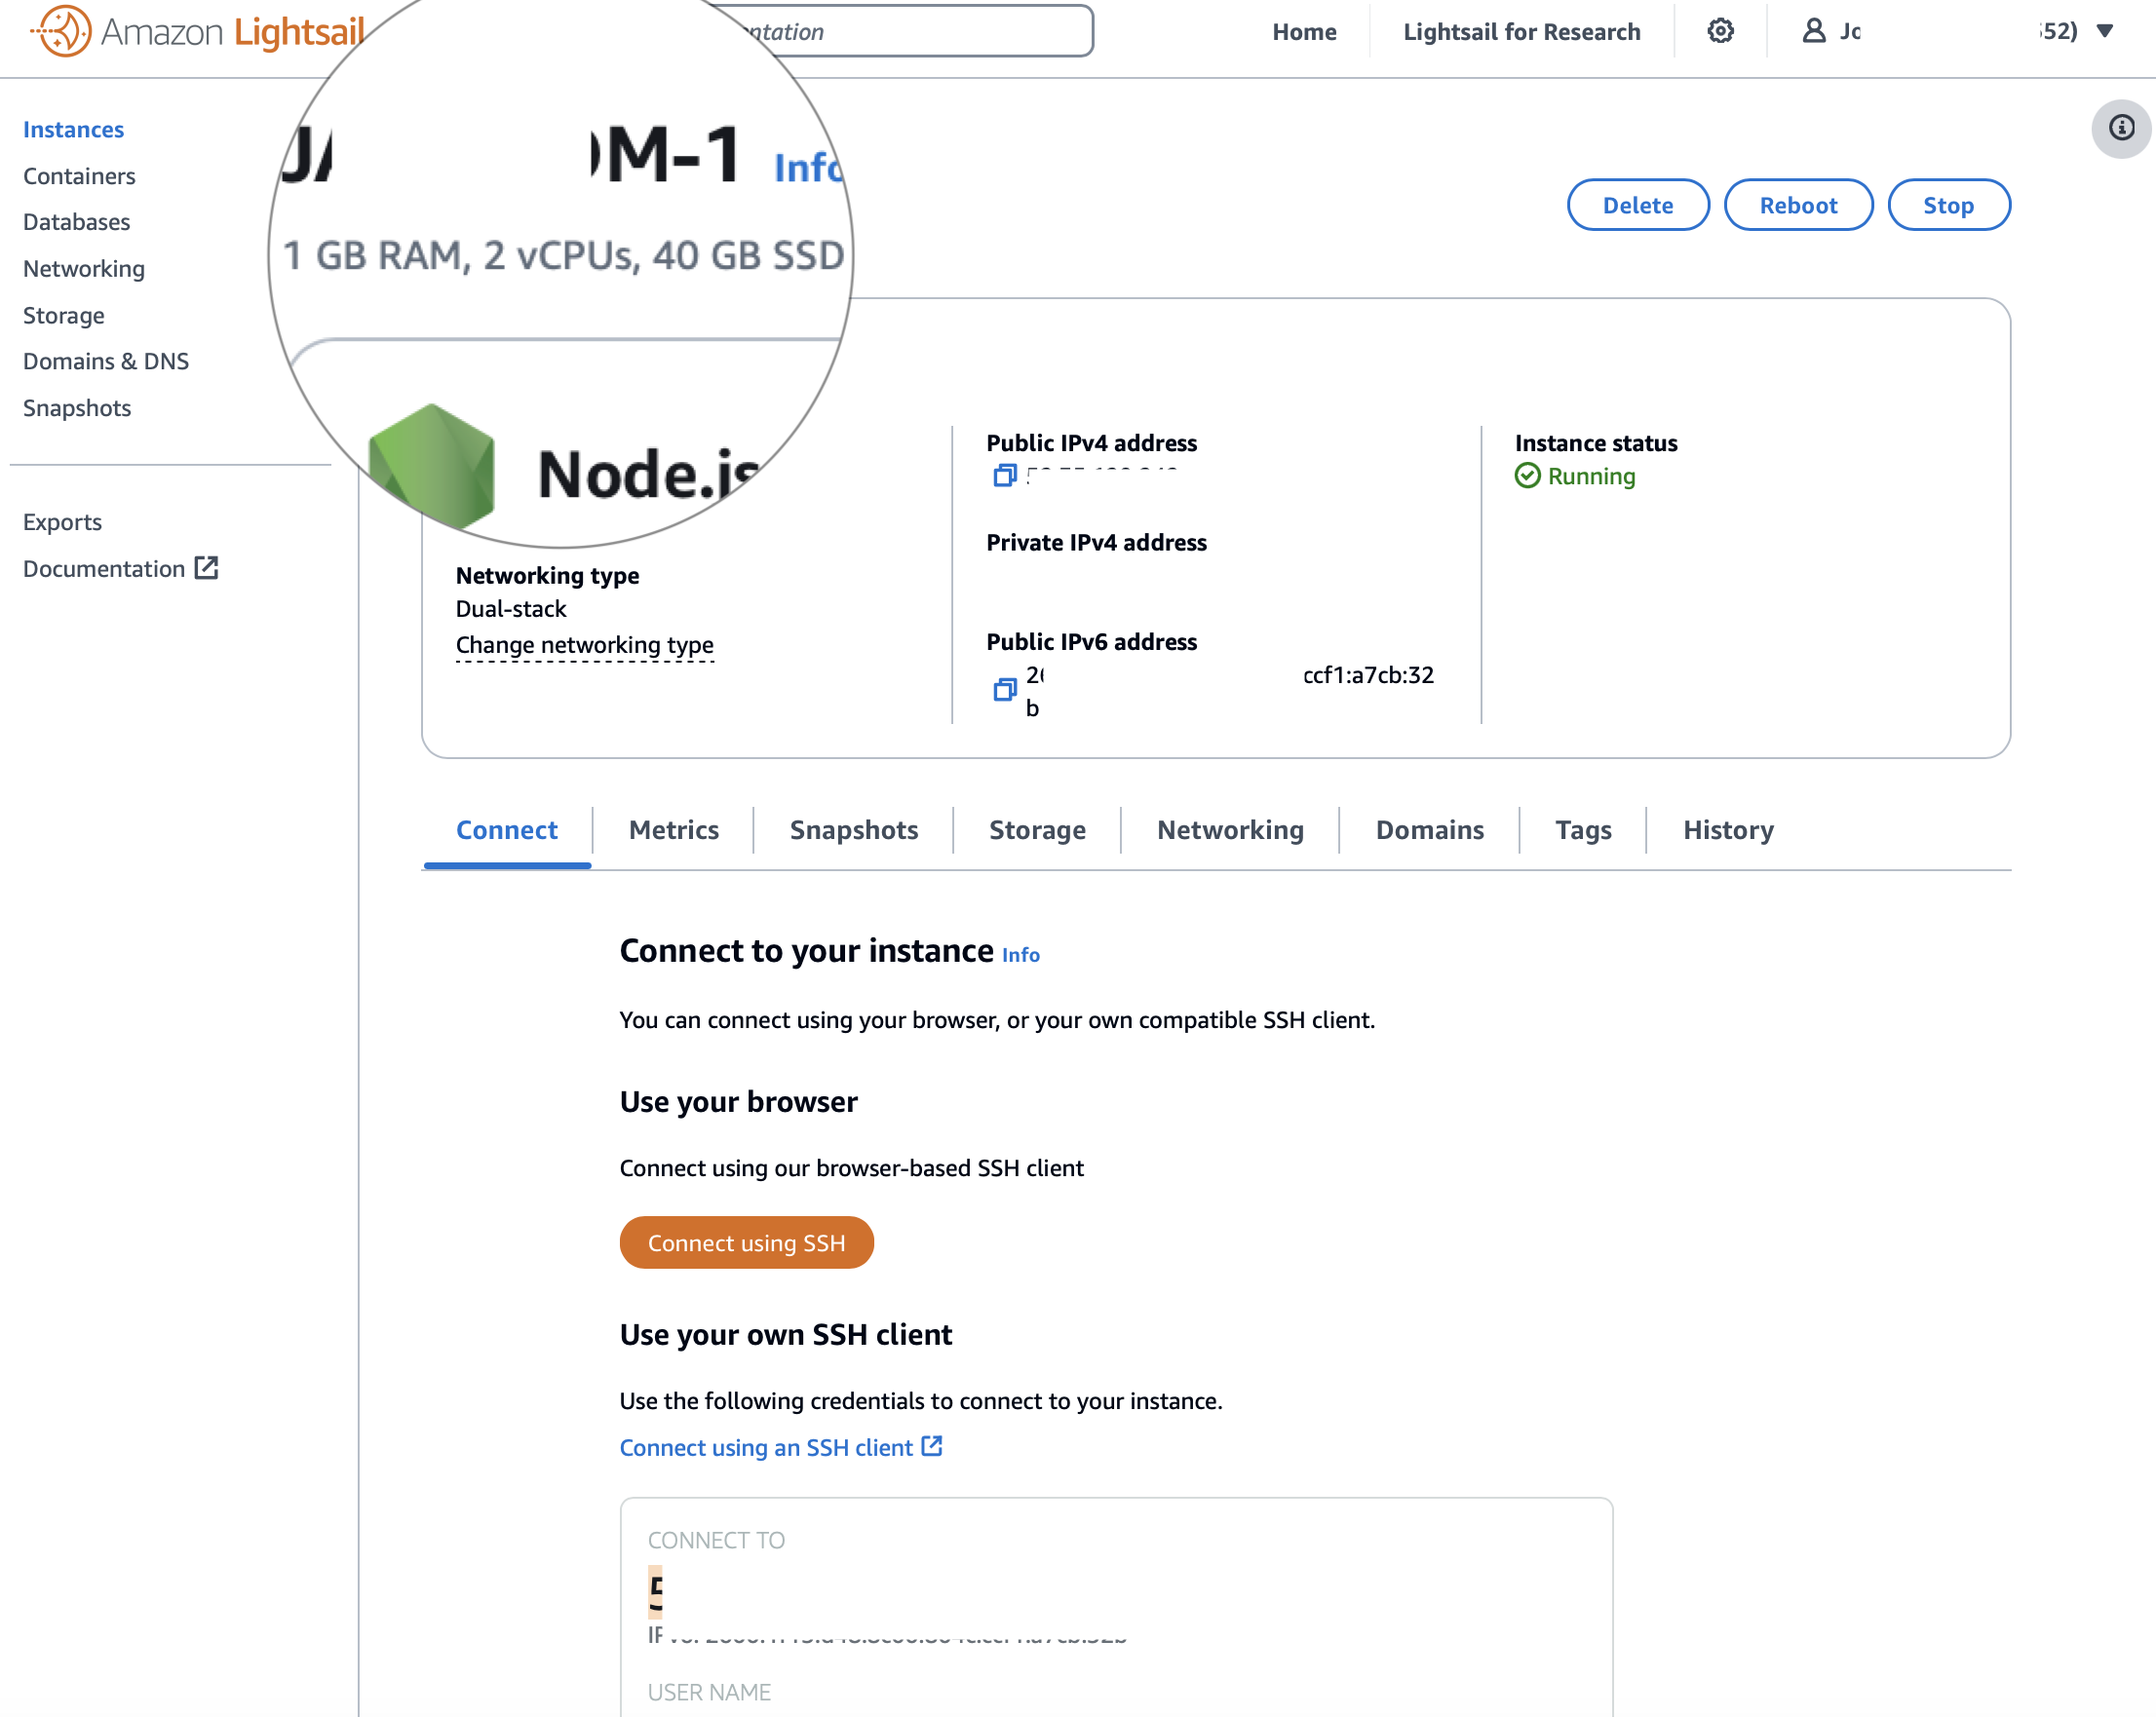 AWS Lightsail Instance
 AWS Lightsail Database Instance
Setting up Apache and ValkyrAI on the Instance
This section describes how to set up Apache to serve the front end and proxy the REST API.
-
Configure Apache Virtual Host: Create a virtual host configuration file for your ValkyrAI application. This file will define the domain name, document root, and other settings for your application.
<VirtualHost *:80>
    ServerName valkyrai.example.com
    DocumentRoot /opt/bitnami/apache/htdocs/

    <Directory /opt/bitnami/apache/htdocs/>
        AllowOverride All
        Require all granted
    </Directory>

    ProxyPass /api http://localhost:8080/api
    ProxyPassReverse /api http://localhost:8080/api
</VirtualHost>
This configuration assumes that your ValkyrAI backend is running on
localhost:8080. Adjust theProxyPassandProxyPassReversedirectives accordingly if your backend is running on a different host or port. Also, theDocumentRootandDirectorydirectives are set to the default Bitnami Apache document root. -
Enable the Virtual Host: Enable the virtual host configuration by creating a symbolic link to it in the
sites-enableddirectory.sudo ln -s /opt/bitnami/apache/conf/vhosts/valkyrai.conf /opt/bitnami/apache/conf/vhosts/valkyrai.conf -
Restart Apache: After making the changes, restart Apache to apply the new configuration.
sudo /opt/bitnami/ctlscript.sh restart apache
Setting up a System Service to Launch the Backend
This section describes how to set up a system service to launch the ValkyrAI backend automatically.
-
Create a Systemd Service File: Create a systemd service file for your ValkyrAI backend. This file will define the service name, description, and execution parameters.
sudo vi /etc/systemd/system/valkyrai.serviceAdd the following content to the file:
[Unit]
Description=ValkyrAI v1 API
After=network.target

[Service]
User=bitnami
WorkingDirectory=/home/bitnami/ValkyrAI
ExecStart=/usr/bin/java -jar /home/bitnami/ValkyrAI/valkyrai-api-1.0-SNAPSHOT.jar

[Install]
WantedBy=multi-user.target
This configuration assumes that your ValkyrAI backend is located in
/home/bitnami/ValkyrAIand that the executable JAR file is namedvalkyrai-api-1.0-SNAPSHOT.jar. Adjust theWorkingDirectoryandExecStartdirectives accordingly if your backend is located in a different directory or if the JAR file has a different name.Also, make sure to configure the database connection URL in the
ExecStartline:ExecStart=/usr/bin/java -jar /home/bitnami/ValkyrAI/valkyrai-api-1.0-SNAPSHOT.jar --spring.datasource.url=jdbc:mysql://ls-8ee50fe55eacc4884310f11919fc27eabb42aee7.cjbdbnvzknle.us-west-2.rds.amazonaws.com:3306/jamroom -
Enable the Service: Enable the systemd service to start automatically at boot.
sudo systemctl enable valkyrai.service -
Start the Service: Start the systemd service.
sudo systemctl start valkyrai.service -
Check the Service Status: Get the status of the service to ensure that it is running correctly.
sudo systemctl status valkyrai.serviceIf the service is running correctly, you should see output similar to the following:
● valkyrai.service - ValkyrAI v1 API
     Loaded: loaded (/etc/systemd/system/valkyrai.service; disabled; preset: enabled)
     Active: active (running) since Tue 2024-10-08 21:49:01 UTC; 2s ago
   Main PID: 93169 (java)
      Tasks: 14 (limit: 1107)
     Memory: 56.9M
        CPU: 3.847s
     CGroup: /system.slice/valkyrai.service
             └─93169 /usr/bin/java -jar /home/bitnami/ValkyrAI/valkyrai-api-1.0-SNAPSHOT.jar

Oct 08 21:49:01 valkyrlabs.com systemd[1]: Started valkyrai.service - ValkyrAI v1 API.
Configuring DNS
Finally, you'll need to set up your new instance with your DNS namespace.
-
Set the Hostname: Set the hostname of your Lightsail instance.
sudo hostname vai.yourcom.co -
Run the Bitnami HTTPS Configuration Tool: This tool will help you configure HTTPS for your instance.
sudo /opt/bitnami/bncert-tool